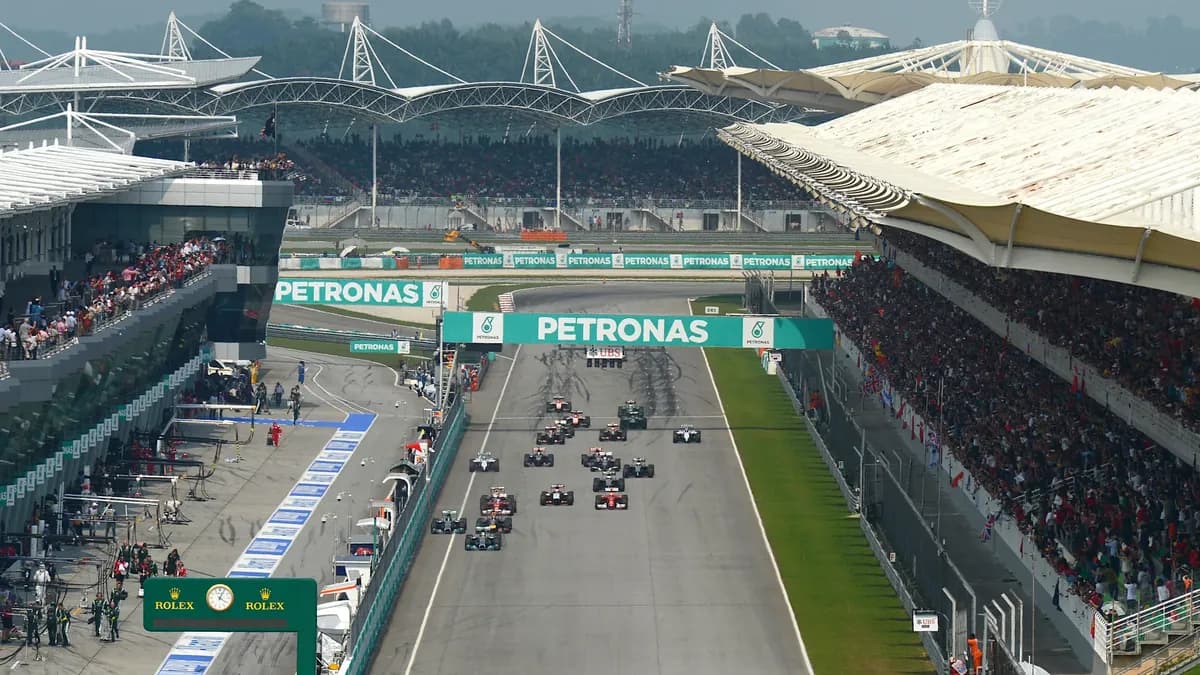
Understanding DRS and Tyre Degradation (A Bettor's Primer)
DRS and tyre degradation are two of the most frequently mentioned terms in any F1 broadcast, and also two of the least understood by casual viewers. Understanding both properly changes how you read a race in progress, and more importantly, how you read a strategy call before it's actually made.
How DRS Actually Works
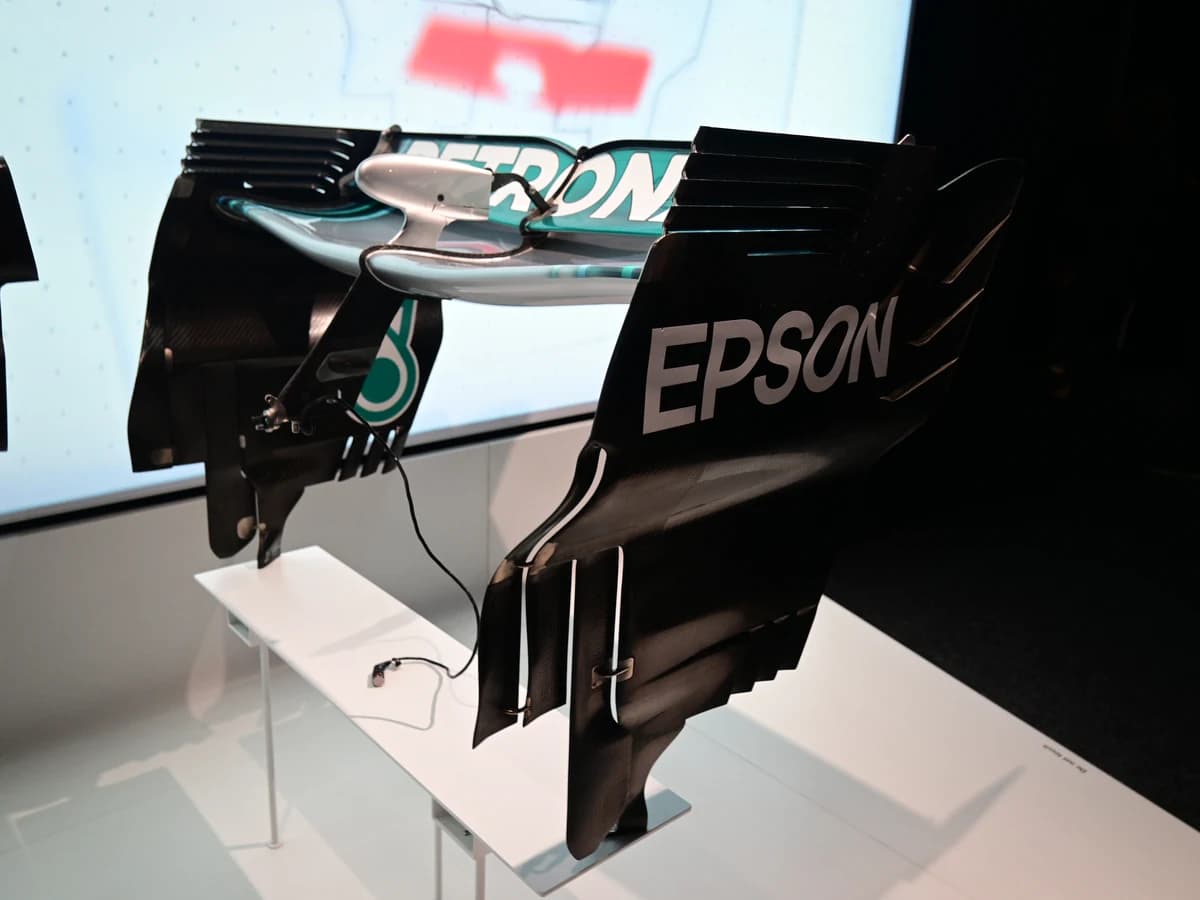
DRS, short for Drag Reduction System, opens a flap on the rear wing to reduce drag on straights, but it only activates within one second of the car ahead in designated zones, which is why overtaking still clusters at specific circuits. A driver can only use DRS in a marked activation zone, and only if they cross a detection point earlier on track within one second of the car in front, so it's a conditional tool rather than something available on every straight.
Circuits with long straights and tight preceding corners tend to produce the most DRS-assisted overtakes, since the speed differential created by the open flap has more time to build before the next braking zone. Tighter, twistier layouts with short straights blunt the effect considerably, which is part of why some circuits are famous for producing dull, processional races regardless of how close the cars are on pace.
- DRS only opens within a marked activation zone, not anywhere on the circuit.
- The one-second gap is measured at a detection point, usually just before the braking zone into the activation straight.
- It's disabled in wet conditions or under safety car and virtual safety car periods for safety reasons.
- Long straights paired with a slow corner beforehand tend to produce the highest rate of successful DRS passes.
- A car defending can't use DRS itself unless it's also within a second of the car ahead of it.
What Tyre Degradation Really Means
Tyre degradation isn't just about compound choice. Track temperature, fuel load, and how a driver manages sliding in the early laps of a stint all compound, pun intended, into how a strategy actually plays out. A softer compound generates more grip initially but wears faster, while a harder compound is slower on a single lap but holds its performance window for longer, and the right choice depends heavily on the specific track surface and expected temperatures that weekend.
Driving style plays a bigger role in degradation than most casual fans realise. A driver who slides the rear through corners to carry more rotation generates heat faster, which can help in cooler conditions but accelerates wear in hot ones. This is why the same tyre compound can behave completely differently in the hands of two drivers on the same car, and it's part of what separates the very best tyre managers on the grid.
Why a Slower Tyre Can Win a Strategy Battle
When you see a one-stop strategy hold up against a two-stop on paper-faster tyres, it's usually because of degradation management, not raw pace. A driver managing tyre life carefully in the middle of a stint can sacrifice a small amount of lap time to preserve enough performance for a strong final push, and that trade-off often beats a driver who pushes flat out early and then fades badly in the closing laps.
This is a distinction that matters a lot for in-race markets. A team that appears to be losing time mid-stint isn't necessarily losing the race. If the strategy is built around preserving the tyre for a late charge, that apparent weakness can flip into a decisive advantage in the final ten laps.
A Quick Reference for Race Day
- Circuits with long straights after slow corners tend to produce more DRS overtakes than tight, twisty layouts.
- Softer compounds offer more initial grip but wear faster; harder compounds last longer but are slower on a single lap.
- Aggressive, sliding driving styles heat tyres faster, which can help in cool conditions and hurt in hot ones.
- A driver appearing to lose time mid-stint may be managing tyre life for a stronger finish, not genuinely struggling.
- Check the ambient and track temperature forecast, since a five-degree swing can change which compound is actually favoured.
- Watch the gap to the car behind relative to the DRS detection point rather than just the raw lap time delta.
Common Mistakes When Reading Strategy Calls
A frequent mistake is assuming the car visibly losing time mid-stint is automatically in trouble. As covered above, a driver managing tyre life for a late push can look slower for ten or fifteen laps before the strategy pays off, and reacting to that dip as if it were a genuine problem misses the point of the whole approach.
Another common error is treating DRS trains, groups of cars running close together where all of them benefit and effectively cancel out each other's DRS advantage, as a sign that overtaking is impossible at a given circuit. It usually means the cars are simply too evenly matched on pace for DRS alone to separate them, not that the system has failed.
A Simple Framework for Reading a Stint
Breaking a stint into thirds, the first few laps on a fresh tyre, the stable middle section, and the final push once degradation sets in, makes it much easier to judge whether a driver is actually struggling or simply managing the tyre as planned.
- Compare lap times against the same driver's earlier laps on the same tyre, not against a rival's fresh-tyre pace.
- Note whether a car is stuck in a DRS train before assuming its race pace is genuinely weak.
- Watch for a driver easing off mid-stint only to find a notable late pace increase in the final laps.
- Check tyre compound choice against the ambient and track temperature forecast for that specific session.
- Track how consistently a team's degradation model matches what actually happens across a full race distance.
Once these two mechanics click, races that look confusing in real time start to make a lot more sense. DRS explains why some overtakes happen where they do, and degradation explains why the fastest car on paper doesn't always win the strategic battle that decides the race.
Like what you read?
Register now and put today's slate to work.